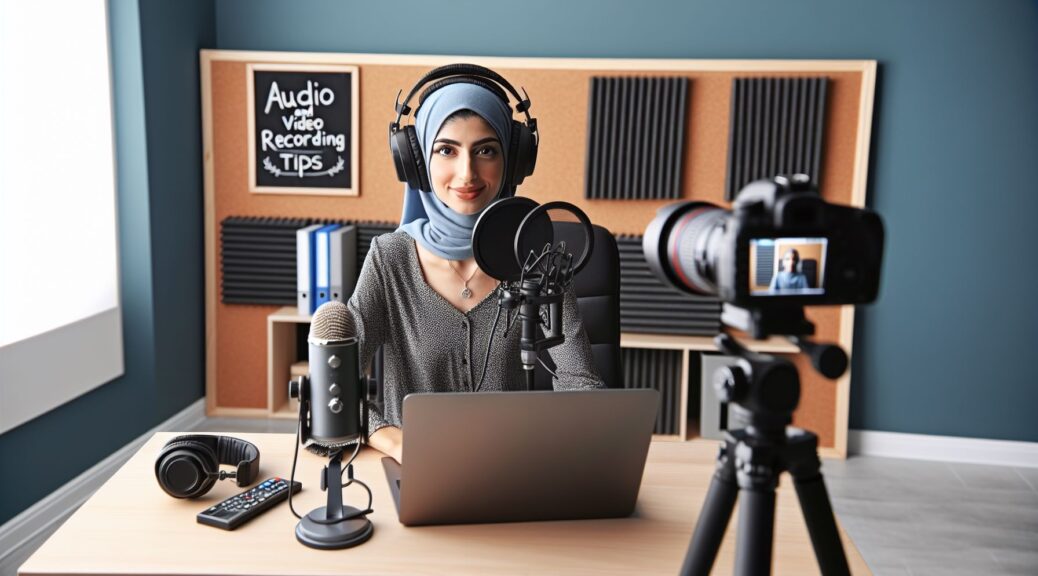
Recording video content is an essential skill for students in today’s digital age. Whether you’re creating a presentation for a class project or filming a tutorial for a school assignment, capturing high-quality audio is just as important as the visuals. Poor audio quality can detract from the overall message of your video and make it difficult for viewers to engage with your content. In this guide, we’ll explore some tips and techniques for recording quality audio with video to help you produce professional-looking and sounding videos.
Introduction
Before we dive into the specifics of recording quality audio with video, it’s important to understand the basics of sound capture. When recording video, the built-in microphone on your camera or smartphone may not always provide the best audio quality. To ensure that your video has clear and crisp sound, it’s essential to use an external microphone. There are several types of microphones available, including shotgun mics, lapel mics, and USB mics, each with its own strengths and weaknesses.
Body
1. Choose the Right Microphone
When selecting a microphone for recording video, consider the environment in which you’ll be filming. If you’re shooting outdoors or in a noisy location, a shotgun microphone may be the best option, as it can help to isolate sound and reduce background noise. For indoor filming or interviews, a lapel microphone may be more suitable, as it can capture clear audio from the subject’s voice without picking up other ambient sounds.
2. Position the Microphone Properly
Once you’ve chosen the right microphone for your video, it’s crucial to position it correctly for optimal audio quality. For a shotgun microphone, aim it towards the sound source, keeping it at a distance of approximately 1-2 feet away. For a lapel microphone, clip it onto the subject’s clothing near their mouth to ensure clear and consistent sound capture.
3. Monitor Audio Levels
Before you begin recording your video, take the time to test the audio levels to ensure that the sound is not too loud or too quiet. Most cameras and smartphones have built-in audio meters that indicate the volume of the sound being recorded. Aim to keep the audio levels in the green range to prevent distortion and ensure that your audio is clear and balanced.
4. Use a Pop Filter
When recording audio with video, it’s essential to minimize unwanted noise and ensure that speech sounds clear and natural. A pop filter can help to reduce plosive sounds (like “p” and “b”) and limit the impact of wind noise on your audio. Place the pop filter in front of the microphone to capture clean and crisp sound without distortion.
Conclusion
Recording quality audio with video is a fundamental skill for students looking to create professional-looking and sounding content. By choosing the right microphone, positioning it properly, monitoring audio levels, and using a pop filter, you can ensure that your video has clear and crisp sound. Remember, high-quality audio is just as important as the visuals in your video, so take the time to invest in the right equipment and techniques for capturing professional-grade sound. With these tips and techniques in mind, you’ll be well on your way to producing engaging and informative videos that will capture the attention of your audience.